17.1.14

MkIV slow motions.

*
I spent an hour refitting the slow motions to the MkIV mounting. On the advice of a contact I tried to adjust the worm backlash. Removing the motors was easy enough once the protective cans have been wriggled out of their snug castings on the ends of the worm shafts. A tiny grub screw pinched against a flat on each motor shaft. So this should be backed off slightly to allow the motors to be drawn out of the sockets in the ends of the worms. The two long, motor-gearbox holding screws could then be slacked off and each motor-gearbox assembly carefully withdrawn by wriggling them carefully.

In an ideal world one would have a spare length of motor sized shaft with a flat filed or ground on it. This could then be inserted into the now empty sockets in the worms. The backlash, friction and freedom could then be easily sensed while twiddling this length of imitation motor shaft back and forth in the fingers.

There is no point in reducing backlash if it means over-tightening the big fixing bolts on the worm housings until the worms will no longer turn freely. I used a cross-head screwdriver as a tool to turn the worm back and forth because it just happened to fit the hole well enough to allow me to turn the worms easily.

The worms should be square to the wormwheels and at the correct height to bed perfectly in the curve formed by the cut "teeth" on the rims of the wheels. On my own worm housings are two socket head grub screws to adjust the height and tilt of the worm housings. The odd thing is that these screws are on the opposite side of the fixing bolts. So tightening the grub screws increases the pressure of the worm on the wormwheel. Which seems counter to common sense.

After fiddling with the worm housings and the tightness of the fixing bolts I greased the worms and let the motors run to ensure the worms were actually rotating. The worms turn very slowly indeed so one has to watch marks on the worms very carefully to see if they move. It can take a couple of minutes before the engraved setting circles move past the pointers to confirm wormwheel rotation.

As is usual with any mounting the balance is crucial to ensure freedom of movement when driven. If the motor has to work hard to lift the OTA "uphill" then drive accuracy is unlikely. The same could be said it the telescope wants to run away downhill because it is too heavy for the counterweight. The drives should be freed and the OTA (telescope) adjusted for longitudinal (see-saw) balance around the declination shaft.

The counterweights must also be adjusted along the declination shaft to ensure the entire mounting is in balance with the telescope around the polar axis pivot. Some telescope tubes are fitted with sliding, or threaded weights to adjust the telescope tube balance end to end. Changing accessories at the eyepiece can easily alter the tube's own balance. Particularly if a heavy camera is fitted in place of a simple eyepiece. It will also alter the balance around the polar axis unless care is taken in fitting a sliding tube balance weight to compensate.


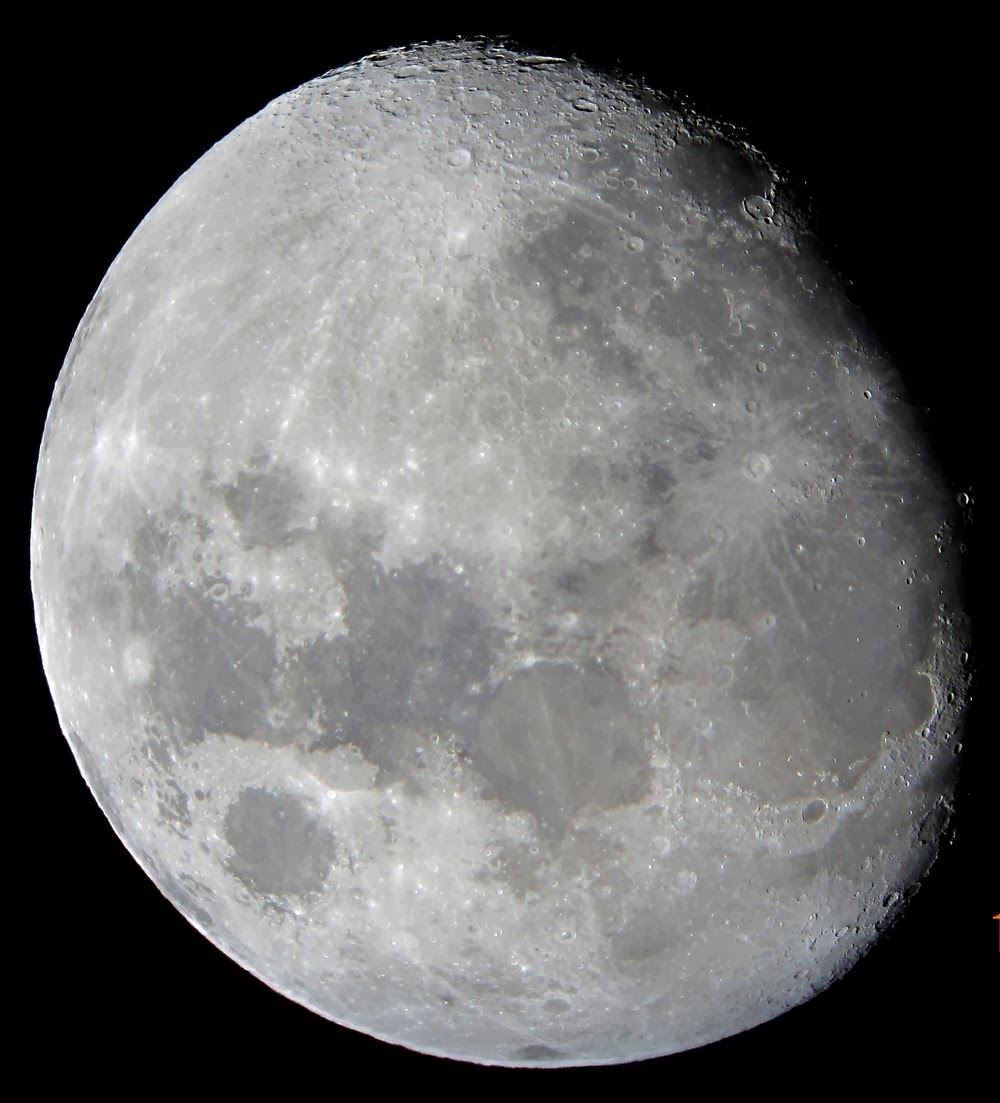
The images in this post are all from the first arrival of my MkIV. Conditions aren't conducive to technical photography at the moment. With heavy overcast skies and short daylight hours.

Click on any image for an enlargement.

12.1.14

10" f/8 Still, clear, Moon with Jupiter rising.

*
For the first time in what seems several months the sky is clear without a howling gale. I dragged the MkIV mounting to where I could catch the rising Moon over the 20' eastern hedge.

I had found and tried the Cheshire and discovered the focussing mount was not square to the secondary. I slipped a galvanised nut under one edge and re-tightened the screws. That's better!

The Moon was at 25 degrees altitude when I first started observing. Creeping up to 35 degrees before I went in for a cup of tea and a slice of Christmas cake to scribble some notes on my blog.

Jupiter is still too low to align the telescope on it but is rising quickly now. Though it is still at a very low altitude.

Initial impressions on the moon at 100x and 135x is much increased sharpness. 200x was much too soft until the Moon reached 40 degrees altitude.

High frequency thermal effects are causing a constant rippling of the image. Stars are slightly elongated and not very small. I don't believe the optics are pinched. Infra and extra focal expanded images are round but jagged edged.

Going back out now:

By about 7pm the moon reached 40 degrees altitude and suddenly the central crater popped out as a small white spot. at 135x. (15mm)  I was still unable to see the crater at 100x. Thermal agitation gradually reduced with increasing altitude.

One oddity was a complete reversal of the light breeze. A thin streak of smoke was wafting horizontally from our chimney lit by the bright moonlight. Though this wind was undetectable where I was standing

Meanwhile Jupiter became accessible from my observing position though it was still only at 20 degrees altitude. Two clear belts visible but struggling for finer detail. I spent another hour going up and down in power until it reached 30 degrees. There was some slight increase in contrast on the belts but nothing very impressive. The four Jovian moons were easily seen and slowly shrank in size with altitude gained. At higher powers it was easy to see rotating thermal effects on the Jovian limb.

Soon everything was sparkling with frost though I was not suffering from any dewing on the optics. The earlier, heavy plates of cloud had disappeared. To be replaced but a long streak of thin,  high cloud appearing from the NW. It looked rather like a diffuse searchlight beam. For some peculiar reason this "cloud" formed a perfectly clear circle around the moon and then travelled under it and onwards.

Towards the end I brought out the short zoom, Canon compact camera to take some handheld snaps at the eyepiece. I seem to have mislaid my favourite 20mm no-name Plossl photography eyepiece. This fits the adaptor I made out of a plastic bottle top. The combination provides perfect centring and a reasonable power on my refractors. Though 20mm may be too "powerful" for the F:8 10".

The moon image was taken with a 26mm Meade 4000 Plossl. ( Nominal 78x) Cropped to enlarge and resized smaller for the blog.

Four hours in total under rather pleasant observing conditions. I packed up at 8pm for dinner with more, thin high cloud arriving. Both my quarries were both still too low for best seeing. Thermal agitation was a constant feature.

Telescope collimation is still not perfect but sneaking towards it. There is some vibration when I touch the telescope but it soon damps down. Having the drives fitted would remove the need to more the telescope by hand.  Though I have yet to re-attach the worms and slow motion drives to the MkIV mounting. The mirror fan has yet to be connected to a power supply even experimentally. Blackening in the optical path only amounts to an A4 piece of thin, black foam attached with clothes pegs opposite the focuser.

Clear nights have been exceptionally rare this year. Rather dimming my enthusiasm for further telescope building or observing. I remain determined to find a raised yet sheltered site which will allow permanent set-up for observing. Almost anything would be an improvement  on having to move the entire instrument and its separate mounting around the garden. The mature trees and high hedges provide shelter from the constant winds but block most of the sky.

I used a laser rangefinder, with an accurate digital clinometer, to measure the altitude of the telescope tube as the evening progressed. This made my own estimates of altitude (by eye) look rather foolish. I was being far too optimistic by as much as 10 degrees. Over the years I have usually noticed a distinct improvement in seeing when an object was above 45 degrees altitude.

Click on any image for an enlargement.
*